How to Stain Your Kitchen or Bathroom Cabinets for a Fresh, Modern Look
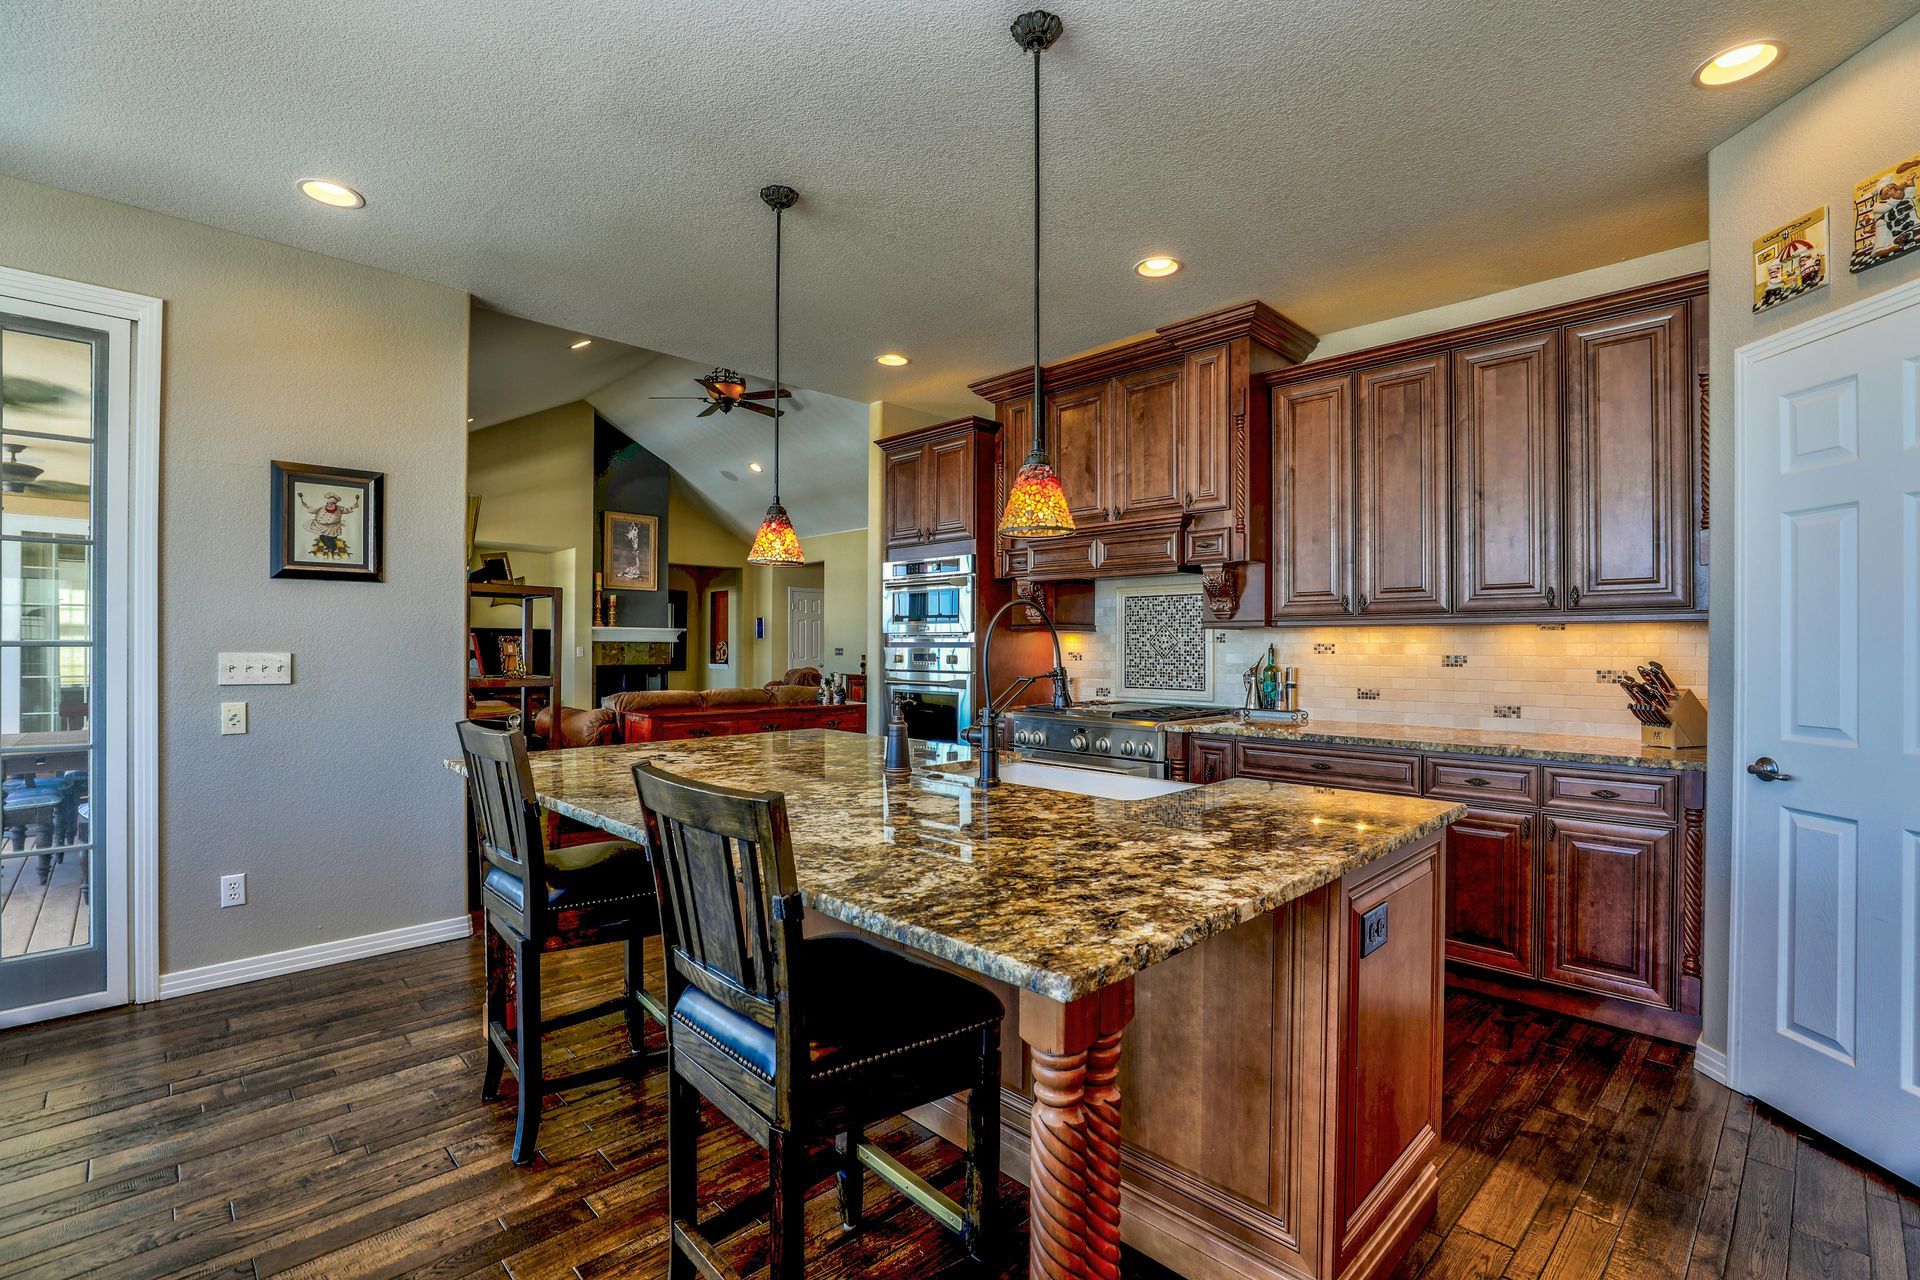
When bathroom or kitchen cabinets look dingy or outdated, an easy and cost-effective way to refresh them is by staining. Staining can bring back the original beauty of the wood, enhancing the grain without the need for a total replacement. Not only is this method less expensive than replacing or refacing cabinets, but refinishing with stain can also save you up to 50% in refurbishment costs.
Before You Begin
Staining cabinets is a relatively simple process that is easier and quicker than painting. In most cases, a kitchen can be completed in just a couple of days. The best stain to use for cabinets is a combination stain and polyurethane topcoat, which saves time and eliminates the need to completely sand off the existing coating.
To get started, follow these easy steps to ensure a professional-looking result.
Steps for Staining Cabinets
1. Remove Hardware, Doors, and Drawer Fronts
Before doing anything, use a drill or screwdriver to remove all cabinet hardware. Take off doors and drawer fronts and set them aside. To keep things organized, put screws and hardware in labeled plastic bags for reinstallation later.
2. Clean and Sand the Surfaces
Wipe down all surfaces with a cleaning solution like TSP (or an alternative degreaser). Pay extra attention to areas near handles and the stove, where grease builds up. After cleaning, sand the surfaces lightly with #220 grit sandpaper. This creates a rough finish that helps the stain adhere.
3. Stain Application
Mix the stain thoroughly before use. Using a high-quality 2-inch brush, apply the stain to the textured areas of the cabinet first, followed by the flat surfaces. Brush in the direction of the wood grain for a smooth finish. Wipe off excess stain with a clean cloth and allow the cabinets to dry for at least six hours before applying additional coats.
4. Apply a Second Coat
If you're aiming for a darker finish, apply a second or even third coat. Wipe off any excess stain after each application, allowing the cabinets to dry fully between coats.
5. Apply Polyurethane for Protection
Once the stain has dried, it’s time to apply a polyurethane topcoat to protect the wood and stain. Use a high-quality brush to apply the polyurethane in thin, even layers, following the direction of the wood grain. Plan on applying at least three coats for maximum durability and protection. Allow each coat to dry fully before applying the next one, lightly sanding between coats with fine grit sandpaper for a smooth finish.
6. Reattach Doors, Drawer Fronts, and Hardware
After everything has dried completely, reattach the doors and drawer fronts using the screws and hardware you saved. Install new or reattach the original hardware to complete the job.
Changing Cabinet Colors with Stain
Darker Colors: If staining cabinets darker, there’s no need to completely sand off the old stain. Lightly sand the surface to roughen it up, allowing the new stain to blend with the existing color.
Lighter Colors: For a lighter finish, such as gray or white, it’s necessary to sand the cabinets down to the bare wood. After sanding, test the stain on an inconspicuous area and allow it to dry to ensure the desired result.
Painted Cabinets: If your cabinets are painted, you must remove all paint by sanding, using a liquid paint stripper, or a scraper. Stain won’t adhere properly to painted surfaces.
Safety Tips
Work in a well-ventilated area and use proper breathing protection. It’s best to move cabinet doors and drawer fronts to an outdoor or well-ventilated space to stain. Indoors, open windows and use fans to vent air, but avoid blowing dust onto your newly stained surfaces.
What You’ll Need
Tools & Equipment: Cordless drill, manual screwdriver, 2-inch brush, cotton rags, microfiber towels, tack cloth, sanding block, #220 grit sandpaper, gloves, and plastic sheeting.
Materials: Polyurethane stain, TSP or degreasing cleaner, mineral spirits, polyurethane topcoat.
Conclusion
Staining kitchen or bathroom cabinets is an affordable and efficient way to refresh your space. By following these simple steps, you can achieve a professional-looking finish that breathes new life into your cabinets without breaking the bank. Whether you opt for a darker or lighter stain, your cabinets will look fresh and revitalized, especially with a protective polyurethane finish to ensure lasting beauty. IF YOU BELIEVE PAINTING IS THE RIGHT WAY TO GO WITH YOUR PROJECT, CHECK OUT OUR PAINTING STAINING GUIDE TO RECEIVE A DETAILED WALK-THROUGH. For best results, consider hiring a pro to make sure your finish is flawless.